Luxury Vinyl Tile (LVT) flooring has become a popular choice for homeowners and designers alike due to its durability, affordability, and aesthetic appeal. Whether you're upgrading your home or renovating a commercial space, LVT offers a versatile flooring solution that can mimic the look of hardwood, stone, or tile without the hefty price tag.
If you're considering purchasing LVT in Amherst, Sandusky, and Amherst, OH and want to learn more about installing LVT flooring yourself, you're in the right place. We’ll walk you through the steps of LVT flooring installation, ensuring a seamless process from start to finish.
LVT installation steps
- Prepare your space
- Gather your materials
- Measure and plan
- Install underlayment
- Begin installation
- Trim and finish
- Final touches
How to install lvt flooring
Step 1: prepare your space
Before diving into the installation process, it's essential to prepare your space accordingly. Start by removing any existing flooring materials and thoroughly clean the subfloor to ensure a smooth surface. Additionally, check for any imperfections or uneven areas that may need to be addressed before proceeding.
Step 2: gather your materials
To install LVT flooring, you'll need the following materials:
- LVT flooring tiles or planks
- Underlayment (if required)
- Adhesive (if using glue-down method)
- Utility knife
- Straight edge
- Tape measure
- Trowel
- Rubber mallet
- Spacers
Ensure you have all the necessary tools and materials on hand before beginning the installation process to streamline the workflow.
Step 3: measure and plan
Before laying down your LVT flooring, carefully measure the space and plan the layout to ensure a uniform and aesthetically pleasing result. Begin by determining the starting point and laying out your tiles or planks accordingly, leaving room for expansion along the edges.
Step 4: install underlayment (if required)
Depending on your subfloor and the specific requirements of your LVT flooring, you may need to install an underlayment to provide additional cushioning and moisture protection. Follow the manufacturer's instructions for the appropriate underlayment material and installation method.
Step 5: begin installation
With your space prepared and materials gathered, it's time to start laying down your LVT flooring. If you're using the click-lock method, simply interlock the tiles or planks starting from the predetermined starting point and working your way across the room. Use spacers to maintain consistent spacing along the edges.
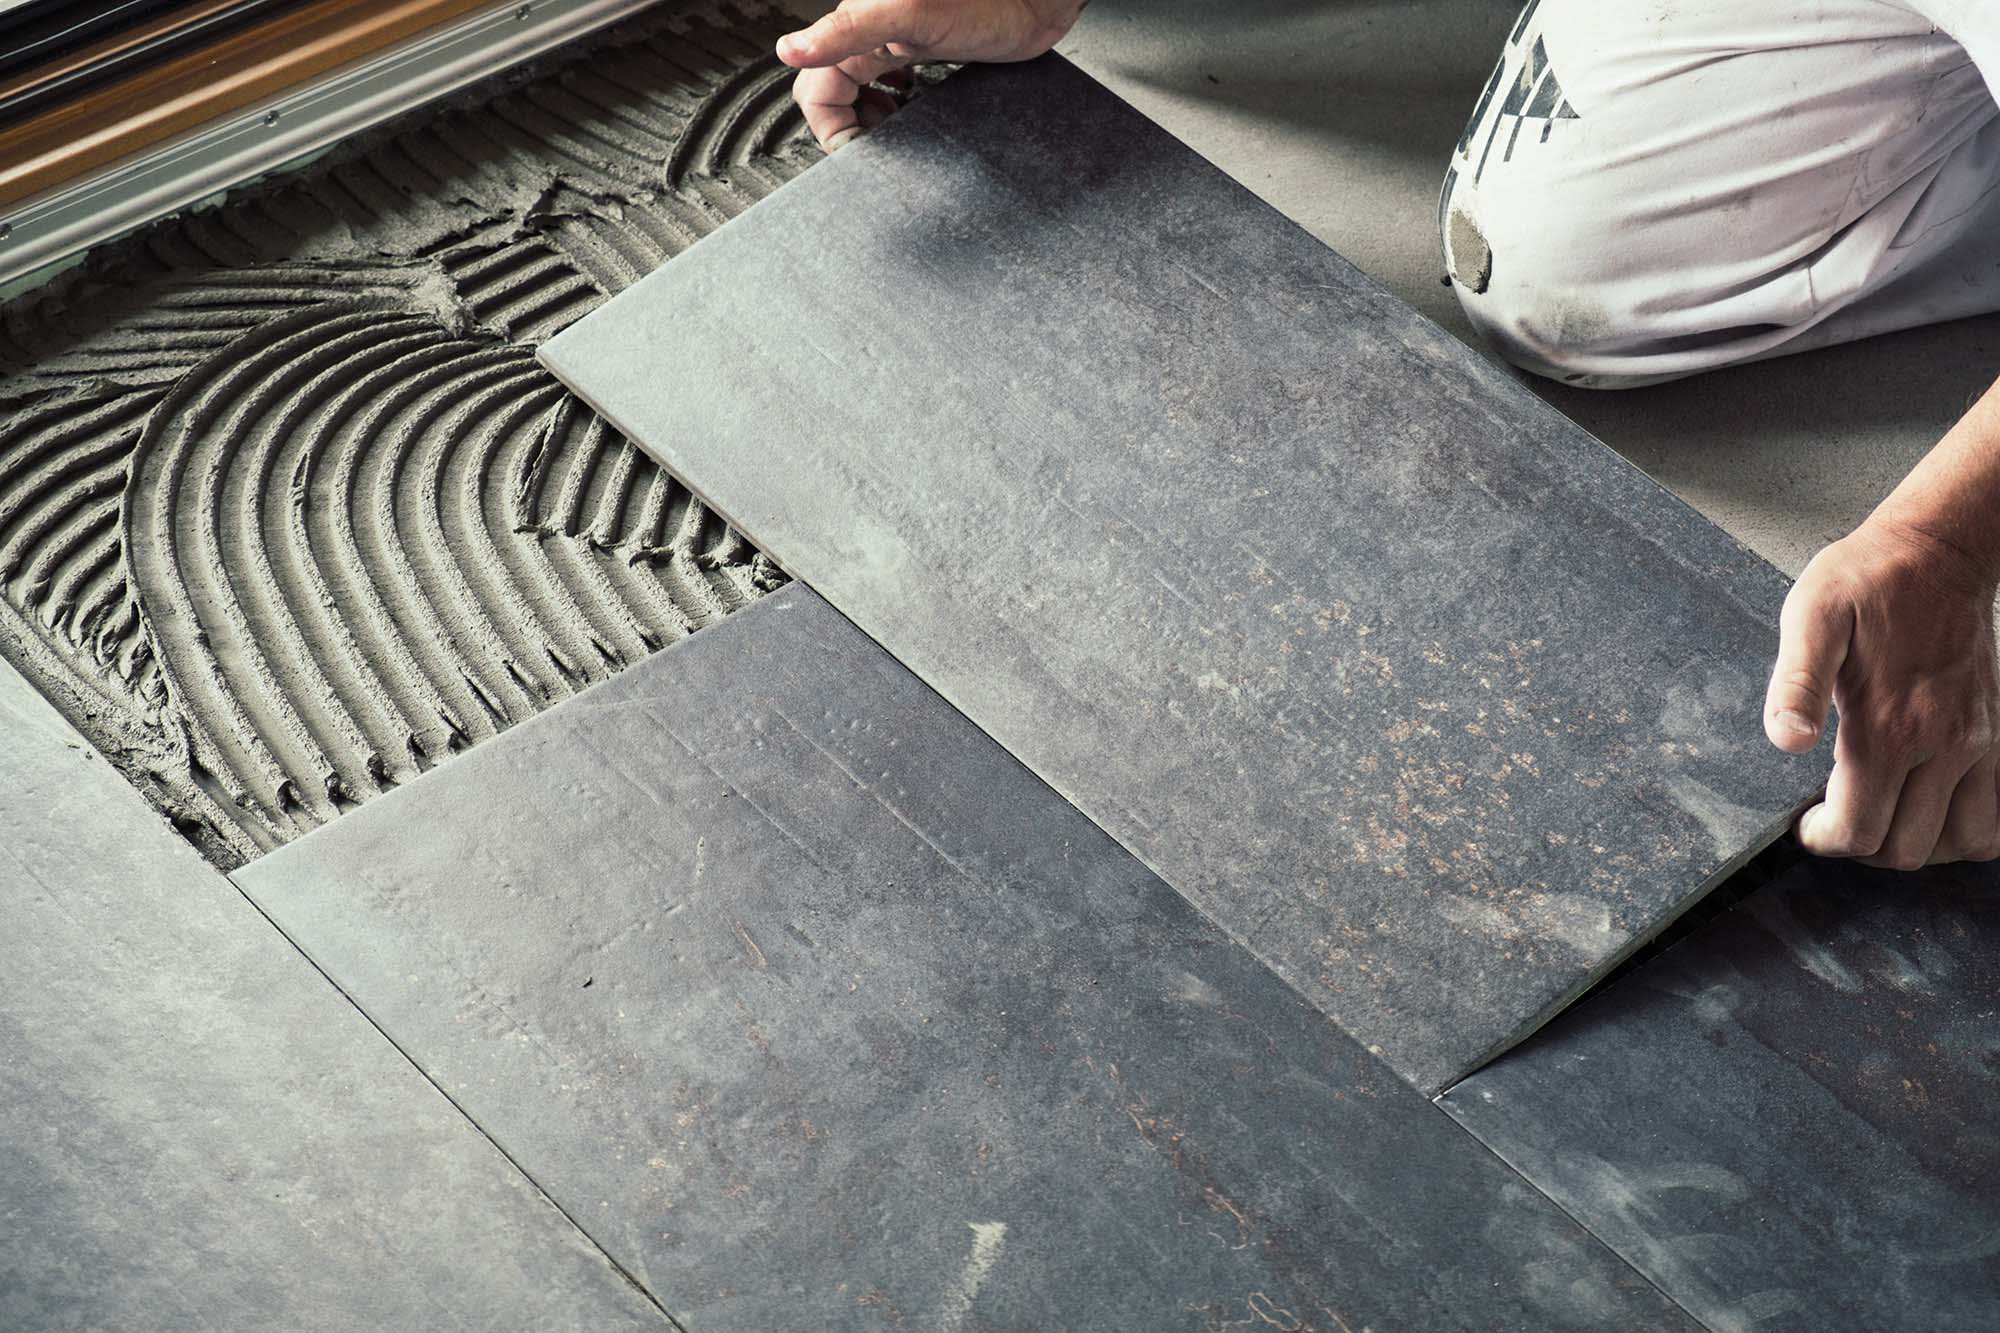
If you're using the glue-down method, apply adhesive to the subfloor using a trowel and carefully place each tile or plank, pressing firmly to ensure proper adhesion. Use a rubber mallet to gently tap each piece into place and maintain alignment.
Step 6: trim and finish
As you near the edges of the room or encounter obstacles such as door frames, use a utility knife and straight edge to trim the LVT flooring to fit accordingly. Ensure a snug fit and continue until the entire space is covered.
Step 7: final touches
Once all the LVT flooring is installed, remove any spacers and clean the surface to remove any debris or adhesive residue. Inspect the flooring for any visible imperfections and make any necessary adjustments.
Learn more about LVT flooring installation with Jamie's Carpet Shop Inc
Installing LVT flooring installations can transform your space, adding durability, style, and value to your home or business. By following these simple steps, you can achieve professional results without the need for expensive contractors. If you're in the Lorain, Erie, or Cuyahoga Counties area and need assistance with your flooring project, consider reaching out to Jamies Carpet Shop Inc.
With a legacy of excellence dating back to 1965, Jamies Carpet Shop is a trusted name in the flooring industry, offering quality products and expert installation services. Visit or contact Jamies Carpet Shop in Elyria, Sandusky, or Amherst, OH, serving the areas of Amherst, Sandusky, Elyria, Vermilion, and Oberlin, OH, and experience the difference firsthand.


